What is wound irrigation? How to irrigate a wound?
Wound irrigation is a key factor in wound healing and it has to be performed properly. Check our small guide about wound irrigation steps and how to’s.
Proper wound irrigation can be only performed by doctors and nurses. It looks like an easy intervention, but it’s more complicated than just pouring disinfectant or normal saline over a wound.
What is wound irrigation?
Wound irrigation is about wound management by using a fluid that can disinfect scratches, bruises, and other damage to the skin. This treatment can be used (and should be used) on all wound types. It’s possible to leave a bandage on the wound after irrigation.
Why do you need to irrigate a wound?
It helps to remove:
- Surface bacteria
- Remaining textiles from clothing
- Residual cellular debris
- Wound exudate
- Pus
Removing these contaminants can accelerate the wound healing time, keeping the wound hydrated while moisturizing it. It also prevents the wound from future infections.
However, wound irrigation can be counterproductive if it’s performed when a wound is actively bleeding. In that case, irrigation delays the healing because it’s stopping the immune system from creating clots for wound closure.
Irrigation is not necessary for vascular areas such as the scalp.
How to irrigate a wound?
Imperfect wound irrigation can cause the persistence of debris or purulent discharge left inside the wound. If you use povidone-iodine, you must be careful and pour it onto the wound edges instead of irrigating it right inside the wound.
Irrigation happens under a small pressure, measured in psi. The ideal value of wound pressure is between 5 and 15 psi. It has to be enough to remove the debris from the surface. If it’s a chronic wound, use the minimum effective pressure, then increase the pressure constantly and slowly until you get the required result.
Be careful about using too much pressure: it can force the bacteria inside the wound bed.
Wound irrigation tools and equipment
What will you need to perform wound irrigation?
Elsevier measured the psi of every tool (even including plastic bags) used while irrigating the wound. Here is the result:
- Commercially available 500-mL compressible plastic bottle with splash guard (4-5 psi)
- 10-mL syringe (48-49 psi)
- A 10-mL syringe with a 14-gauge angiocatheter with the needle removed (24-25 psi)
- 50-mL Sawyer cleaning syringe (10-11 psi)
- Plastic bag punctured with a 14-gauge needle (1-2 psi)
- Plastic bottle with the cap punctured by a 14-gauge needle (25-26 psi)
- Plastic bottle with a sports top (6-7 psi)
- A bladder-style hydration system (3-4 psi)
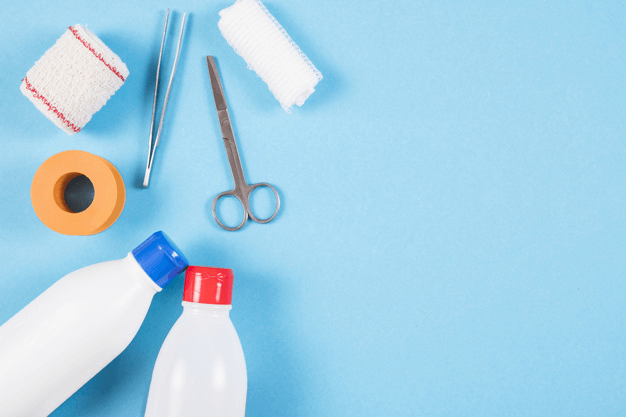
But this process is not just about the hydration tool. Here is some other necessary equipment:
- Linen-saver pads
- Pairs of sterile gloves
- Eye-protector if needed
- Sterile container
- Emesis basin
- Wipes, tissues
- Sterile dressing
- Saline or even tap water
- Wound cleaner
- Bandage
Wound irrigation steps
Before starting to irrigate a wound, be sure you follow the rules of the preparation phase, which are:
- Wash hands
- Check the patient wound type and needs
- Identify if the patient has allergic reactions
- Explain to the patient what is going to happen
Steps of wound irrigation:
- Provide easy access to the wound. Move the patient in order to gain better access if necessary
- Remove dressing
- Irrigate the wound with the right equipment and pressure
- Let the liquid flow from the cleanest to the dirtiest area
- Cover open areas with a sterile bandage or towels
- Debridement
- Redress the wound, put a bandage on it if necessary
If you follow these rules, wound irrigation will reduce the risk of any further infections. After a time, patients can learn this process and will be able to perform wound irrigation at home by themselves.
Summary
Wound irrigation techniques can be a bit messy, and you need to pay attention to the pressure and hygiene, but it is a very important part of wound care.
The advantages of this process are that it’s easy and quick, even learnable for patients.
A disadvantage is that sometimes it’s hard to find the right pressure and can leave a stain on bedlinen or clothes.


